Copper Creeps are now digital creations. They are made the old fashioned way, by hand. I realise that in this day and age this is a novel idea so I thought I would show you how I did it.
This is how I made the master form of the Monster for series 1.
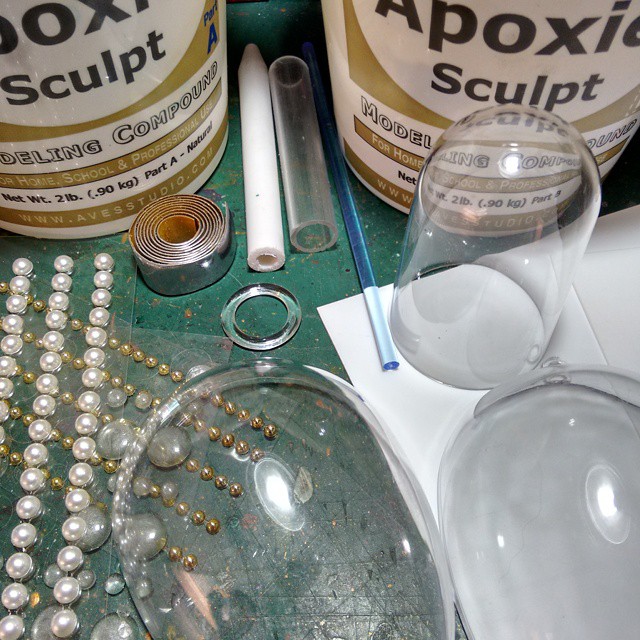
The photo above shows what I am using for this prototype master sculpt. More of a construct than a sculpt.
Acrylic geometric forms. Styrene sheet. Acrylic and Styrene rod and tube. Lead tape. Some plastic hemispheres. And some epoxy putty.
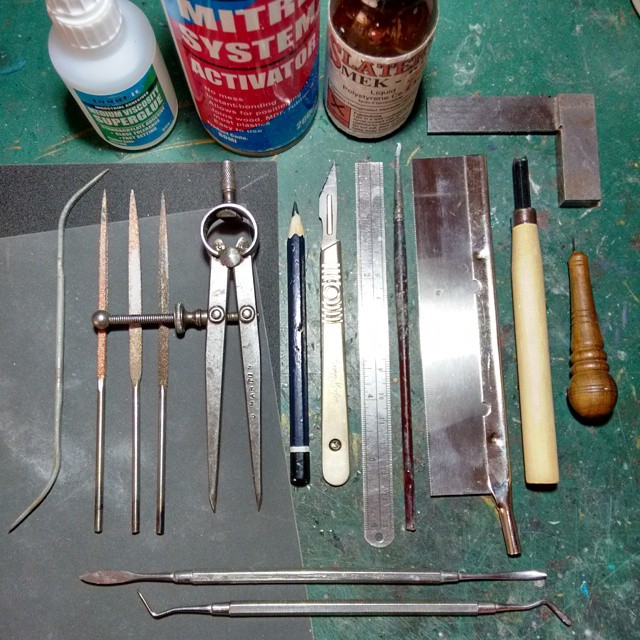
My tools for this job. All hand tools apart from a mini Dremel type drill not shown for bulky cutting and sanding, of which there is not much. As I am mostly using acrylic and styrene I am chemically welding more than gluing. Using Dychloromethane.
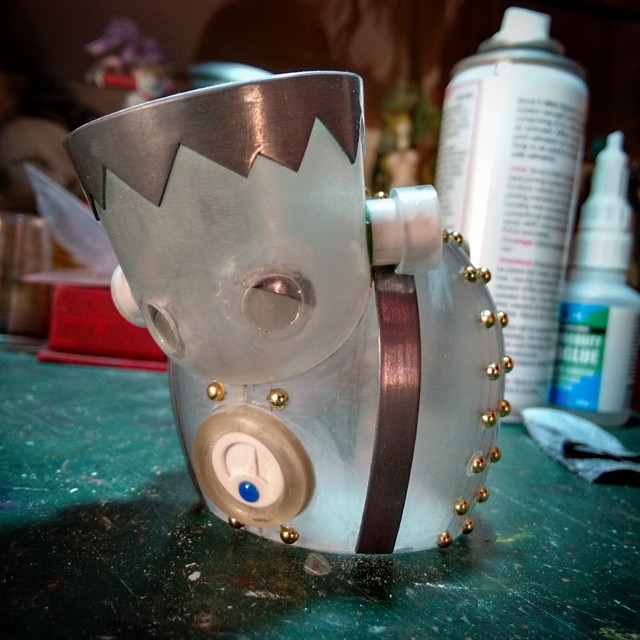
The form is constructed from the various Acrylic shapes, cut and welded together and then fine sanded to give the frosted surface. Any small gaps can be plugged with Epoxy filler.
The hairline and collars were added in thin Lead sheet which is easy to contour around the compound curves.
The rivets are small styrene domes found in a hobby supply store.
Some rub down and finishing required before molding but he came together nicely.
Three days work so far.

This is the power switch on his back. Mostly made from Styrene sheet. The blue switch crossbar is acrylic rod which was tuned to shape.
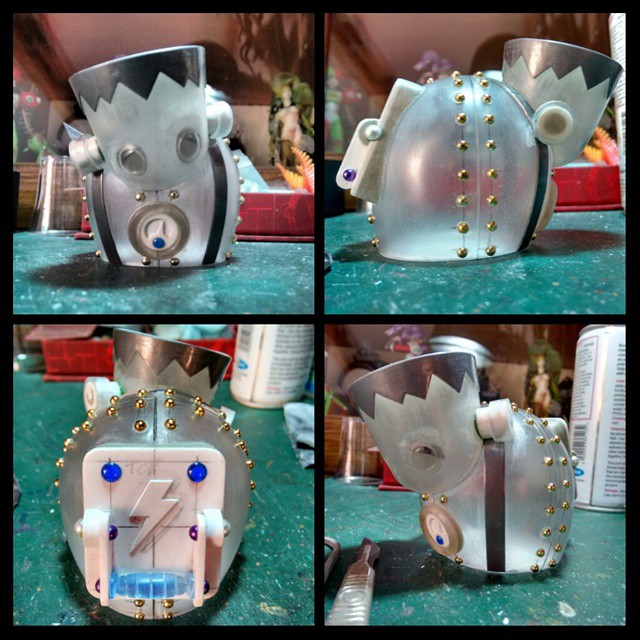
Some more views of the piece.
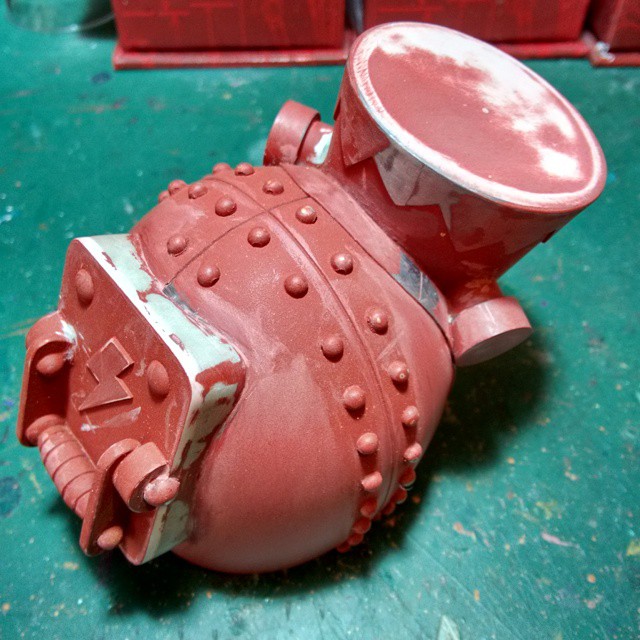
The whole thing is given several coats of primer and wet sanded back to get a nice smooth finish before going for molding and casting.

A final top coat of primer before he heads off.